 |
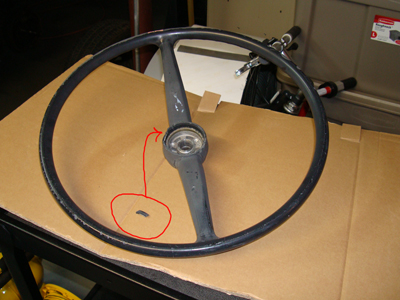
Here is the original steering wheel I pulled off the van. You can see the big chunk of plastic that fell off from the center section. One of the biggest things about poor surface preparation for painting is grease and grime. If you watch any of the car shows you will notice the real professionals wear gloves when sanding and finishing. Dirt from your hands will create fisheyes in paint even after cleaning with pre-cleaner. I have learned this from bad experiences. So knowing that how in the world do you get 40 years of dirt and greasy hands off a steering wheel? I washed with soap and water and then wiped it down with a rag lightly dampened with lacquer thinner. This is an endless process!!! The grease just would not come off. Here is a secret. When the wife is not home put the thing in the dish washer. You can see the light grey in the picture. I was amazed. It dulled the steering wheel completely and no residue. |
| The next process involves taking a dremel tool and opening up all the cracks. It is a way to relieve the stress on the cracks and stop its future spreading. Most of the things I read online said to grind down to the bare metal frame of the steering wheel. My cracks were not that deep so I just opened them up, not all the way to the frame. I do have some reservations about this. I am afraid in the Alabama sun it may crack again. I will let you know next year. Right now it is April of 2009. After the cracks are opened it was back to the dishwasher for another cleaning. | 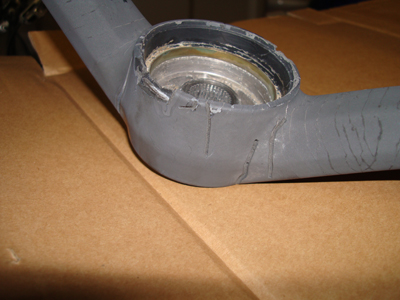 |
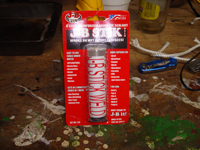 |
Another place where I broke out of the mold was the epoxy putty. Most of the stuff I read said to buy a steering wheel restoration kit from the high end restoration retailers. Most of the kits were around $30 to $50. I am sure they have a higher quality putty, but I used JB Weld epoxy putty from the local auto parts store. I think it was about $12 for the tube you see here. If you immerse the putty in water it spreads a whole lot easier. It moulded around everything. The snag was this did not work with gloves. The gloves stuck to the putty so I had to use my bare hands. This is not good for adhesion and later painting, but I had no choice. You must spread the putty out or you will have big chunks to sand later. Good epoxy is hard to sand so the patch needs to be close to finished when you put it on. See below |
 |
 |
 |
 |
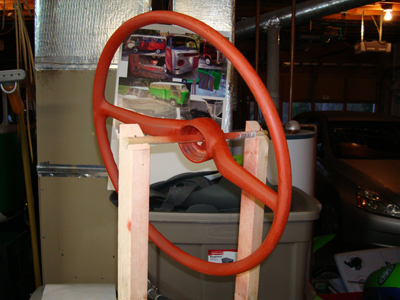
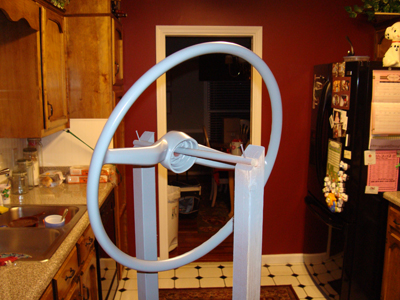
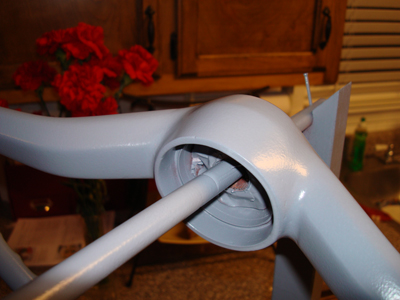
| The next thing I did is tons of sanding. The usual course of 80 to 400 grit. 80 for the bondo and epoxy, 200 before the primer and 400 on the primer. I built a wood stand out of scrap so I could do a good job of priming and painting. After each sanding I put the wheel back into the dish washer to clean. Each time I took it out and handled it, I was wearing surgical gloves. Even while sanding. | 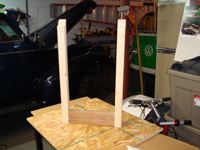 |
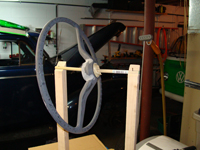 |
| The first coat of primer was epoxy primer. I used it as a primer sealer. I then sprayed a primer filler to cover the sanding scratches. Any small divots got a spot of painters putty. |
 |
 |
 |
 |
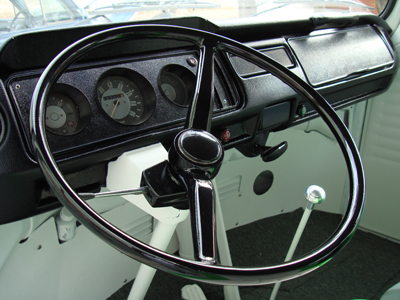
| The final coat of paint was a two stage base coat clear coat of cheap gloss black from the auto paint supplier. In my experience the off the shelf spray stuff from the auto parts store would just not hold up to the abuse a steering wheel would take. Car paint is really good paint. Rattle can paint has its place, but I doubt it would last long on a steering wheel. Now the good and bad news. I had left over epoxy primer and left over primer filler. The only materials I had to buy minus sandpaper was the epoxy and the black/clear. Let me say two stage paint is the way to go. I painted my bus with single stage enamel. Big mistake. That's old school. The two stage stuff is awesome. Great shine, no orange peel, and no runs. It does not even need color sanding and buffing. I digress, back to cost. I have about $55 in materials and about 4 solid hours of labor. I enjoy the satisfaction of knowing I did it myself. If the $200 restoration wheel I was quoted looks as good as mine, the $200 would have been worth it. The cost of a new one was $400. For that money I would do this again. Not worth the $400 to me. |
 |
 |